前言
公司的防火墙是H3C的,WEB端通过接口可以查询到当前总带宽以及用户流量排行,但是想接入监控中就比较棘手,因为接口不能复用,而SNMP也只能查到接口流量信息,无法获取IP流量详情,所以准备通过SNMP监控总带宽,达到阈值后再用Selenium爬取WEB管理后台的用户流量排行数据,通过webhook传递给机器人进行告警。
准备工作
系统环境
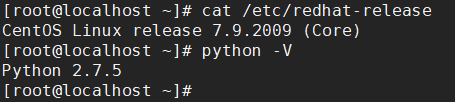
系统版本:CentOS Linux release 7.9.2009
Python版本:3.9.6
安装Python
CentOS 7.9自带的是Python 2.7.5,所以我们还需要自行下载安装Python 3,由于是Minimal Install的新系统,需要提前安装一下gcc等依赖环境。
env
安装依赖
1
2
3
4
5
6
7
yum install -y wget vim
# 更换阿里云源
wget -O /etc/yum.repos.d/CentOS-Base.repo http://mirrors.aliyun.com/repo/Centos-7.repo
wget -O /etc/yum.repos.d/epel.repo http://mirrors.aliyun.com/repo/epel-7.repo
yum clean all && yum makecache
# 安装依赖
yum install -y yum install -y gcc zlib zlib-devel bzip2-devel openssl-devel openldap-devel ncurses-libs ncurses-devel sqlite-devel readline-devel kernel-devel tk-devel gdbm-devel db4-devel libpcap-devel xz-devel libffi-devel libdbi-devel libxslt-devel python-devel git
编译安装Python
1
2
3
4
5
6
7
$ mkdir -p /usr/local/python3.9
$ cd /usr/local/python3.9
$ wget https://www.python.org/ftp/python/3.9.6/Python-3.9.6.tgz
$ tar -zxvf Python-3.9.6.tgz
$ cd Python-3.9.6
$ ./configure --prefix= /usr/local/python3.9
$ make && make install
测试Python
1
$ /usr/local/python3.9/bin/python3.9
python3
配置环境变量
1
2
3
$ vim ~/.bash_profile
# 在PATH最后加上':/usr/local/python3.9/bin'
$ source ~/.bash_profile
profile
1
2
3
# 测试python3和pip3
$ python3 -V
$ pip3 -V
pip3
安装Selenium和Requests
1
2
$ pip3 list
$ pip3 install requests selenium
安装Chrome
通过rpm包安装
1
2
$ wget https://dl.google.com/linux/direct/google-chrome-stable_current_x86_64.rpm
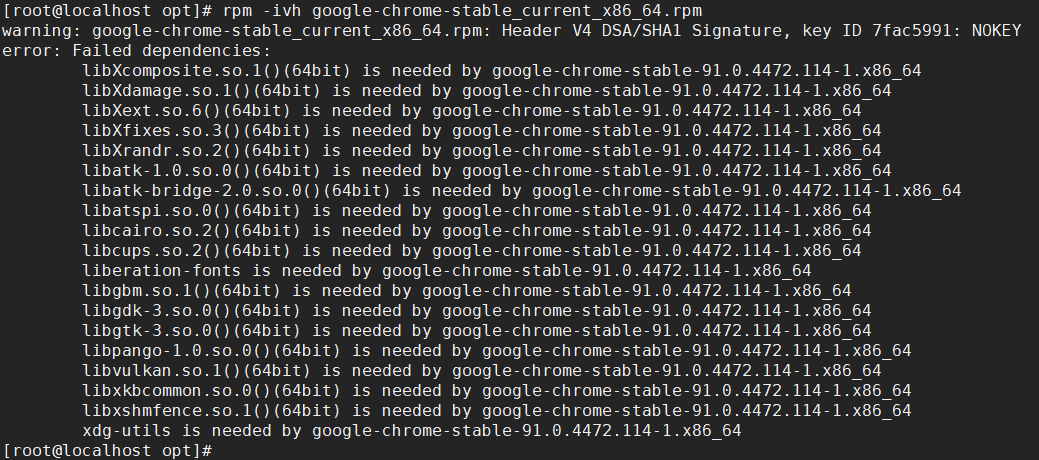
$ rpm rpm -ivh google-chrome-stable_current_x86_64.rpm
rpm
毫无意外报错了,可以看到缺少了很多依赖包,可以一个个安装后再继续安装,也可以尝试另一种方法。
通过repo源安装
1
$ vim /etc/yum.repos.d/google-chrome.repo
1
2
3
4
5
6
[google-chrome]
name=google-chrome
baseurl=http://dl.google.com/linux/chrome/rpm/stable/x86_64
enabled=1
gpgcheck=1
gpgkey=https://dl.google.com/linux/linux_signing_key.pub
由于国内与Google连接性问题,gpgcheck可能会失败导致无法安装,可使用--nogpgcheck参数跳过。
1
2
3
$ yum -y install google-chrome-stable --nogpgcheck
# 测试chrome并获取版本
$ google-chrome --version
chrome
安装ChromeDriver
通过查询https://chromedriver.chromium.org/downloads可知,Chrome version 91对应的是ChromeDriver 91.0.4472.101。
1
2
3
4
5
Current Releases
If you are using Chrome version 92, please download ChromeDriver 92.0.4515.43
If you are using Chrome version 91, please download ChromeDriver 91.0.4472.101
If you are using Chrome version 90, please download ChromeDriver 90.0.4430.24
If you are using Chrome version 89, please download ChromeDriver 89.0.4389.23
可以从https://chromedriver.storage.googleapis.com/index.html 直接下载,也可以通过淘宝镜像站 来下载。
1
2
3
4
5
$ wget https://npm.taobao.org/mirrors/chromedriver/91.0.4472.101/chromedriver_linux64.zip
$ unzip chromedriver_linux64.zip
$ mv chromedriver /usr/bin
# 测试chromedriver
$ chromedriver -v
chromedriver
安装Snmpwalk
snmpwalk是SNMP的一个工具,通过snmpwalk可以查看支持SNMP协议的设备各种信息。
1
2
3
$ yum -y install net-snmp-utils
# 测试snmpwalk
$ snmpwalk -V
开启SNMP协议
想在监控服务器上获取到防火墙设备数据,需要防火墙先开启SNMP协议,可以通过WEB管理后台-系统-维护-SNMP快速开启和配置,也可以通过命令行开启。
1
2
3
4
5
<H3C> sy
# SNMP协议版本为v2c
[ H3C] snmp-agent sys-info version v2c
# SNMP只读团体名为monitor
[ H3C] snmp-agent community read monitor
开启完毕后,再到监控服务器测试SNMP协议。
1
2
# snmpwalk -v 协议版本 -c 团体名 设备IP OID
$ snmpwalk -v 2c -c monitor 127.0.0.1 sysDescr
能获取到设备系统信息即表明SNMP协议配置成功。
snmp
监控脚本
通过SNMP监控带宽
 1
 2
 3
 4
 5
 6
 7
 8
 9
10
11
12
13
14
15
16
17
18
19
20
21
22
23
24
25
26
27
28
29
30
31
32
33
34
35
36
37
38
39
40
41
#!/bin/sh
SNMP = "monitor"
HOST = "127.0.0.1"
OID = "IF-MIB::ifInOctets"
while true
do
for i in ` ls -l`
do
# 获取当前接口流量
first = ` snmpwalk -v 2c -c $SNMP $HOST $OID | awk '{print $NF}' `
# 设置5分钟间隔
sleep 300
while true
do
# 获取5分钟后接口流量
last = ` snmpwalk -v 2c -c $SNMP $HOST $MIB | awk '{print $NF}' `
byte = ` echo " $last - $first " | bc`
mbps = ` echo "scale=2; $byte *8/300/1000000" | bc`
if [ $( echo " $mbps > 80" | bc ) = 1 ] ; then
webhook = 'https://oapi.dingtalk.com/robot/send?access_token=*'
DATE = ` date +%F" " %H:%M:%S`
function SendToDingtalk() {
curl $webhook -H 'Content-Type: application/json' -d "
{
'msgtype': 'text',
'text': {
'content': '时间: $DATE \n流量: ${ mbps } Mbps'
},
'at':{
'isAtAll': false
}
}"
}
SendToDingtalk
fi
break
done
done
done
通过Selenium获取流量排行
 1
 2
 3
 4
 5
 6
 7
 8
 9
10
11
12
13
14
15
16
17
18
19
# -*- coding:utf-8 -*-
import requests , time
from selenium import webdriver
options = webdriver . ChromeOptions ()
options . add_argument ( '--headless' ) # 无GUI
options . add_argument ( '--disable-gpu' ) # 无需gpu加速
options . add_argument ( '--no-sandbox' ) # 无沙箱
options . add_argument ( '--ignore-certificate-errors' )
browser = webdriver . Chrome ( options = options )
#登录页面
url = r 'https://127.0.0.1'
# 访问登录页面
browser . get ( url )
# 省去敏感代码,与一般的爬虫无异,即获取element再处理
browser . quit ()
print ( rank ) # 将处理后的结果打印给shell脚本
最后修改shell脚本将获取到的数据也发送给钉钉机器人,nohup后台运行脚本即可。
 lchkid